A friend at En Produktions Byrå was assigned to design a section of a Fagerhult exhibit for their permanent showroom located at the headquarters. The display consists of several clusters of buttons, resembling vintage radio buttons where only one can be active at a time in each group. A sophisticated display mounted on an adjacent wall is controlled by the buttons.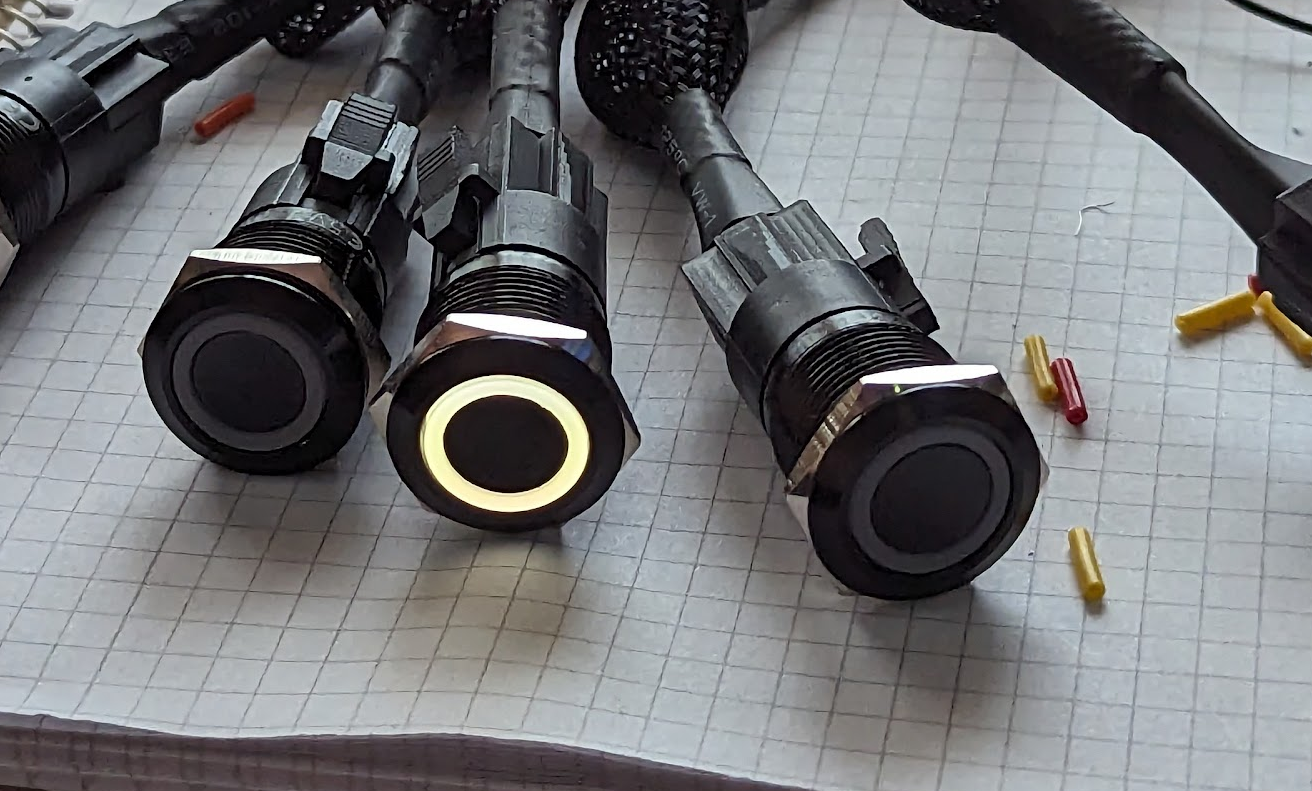
After doing some research, we purchased a number of Adafruit buttons with integrated Neopixel (WS281X) lights, which allowed us to set up 23 buttons with built-in lights. Additionally, it was implied that it could need to expand in order to accommodate more buttons.
Since I’ve made some keyboards previously my idea was to create a matrix-style design. After much deliberation and debate, we decided on a configuration consisting of 12 rows and initially 2 columns (possible to expand to 5 columns) for 24 buttons (and max 60).
I found some JavaScript libraries that could control the RGB-LEDs so the whole thing is written in Typescript. It’s not a complicated task, just cycling between setting one column high, reading all the rows and repeating. Even so there was some struggle.
The JavaScript ws281x library is just a thin wrapper around another ws281x library and it has a hard coded list of platforms it can run on, and Raspberry Pi 4 is not on that list. So, to get it to work I had to add the identifiers for RPi4 and recompile it and then replace the library used by the JavaScript wrapper. It worked perfectly the first time, but since I accidentally reinstalled the JavaScript wrapper, I had to do it again, and then it just wouldn’t work. Not by following the initial guide, several times, or any of the other three guides I found. At last, for unknown reasons, it just started to work. That was several hours well spent.
The second significant issue I encountered was ghosting. Occasionally, the script would register two buttons for every 100 clicks. It didn’t take me long to figure out that the button in the opposite column that corresponded to it was the one that was showing as pressed. Nothing worked, no matter how many times I checked the connections on the breadboard, moved a diode, added a pull-down resistor, or even looking at it sternly. Finally realized it was a software problem, my script was running too quickly. I quickly checked the columns’ status after switching which column was higher, but occasionally it didn’t appear like the column would change quickly enough before I started to check the rows’ status. The answer was straightforward: delaying the change in column by 10 ms was sufficient.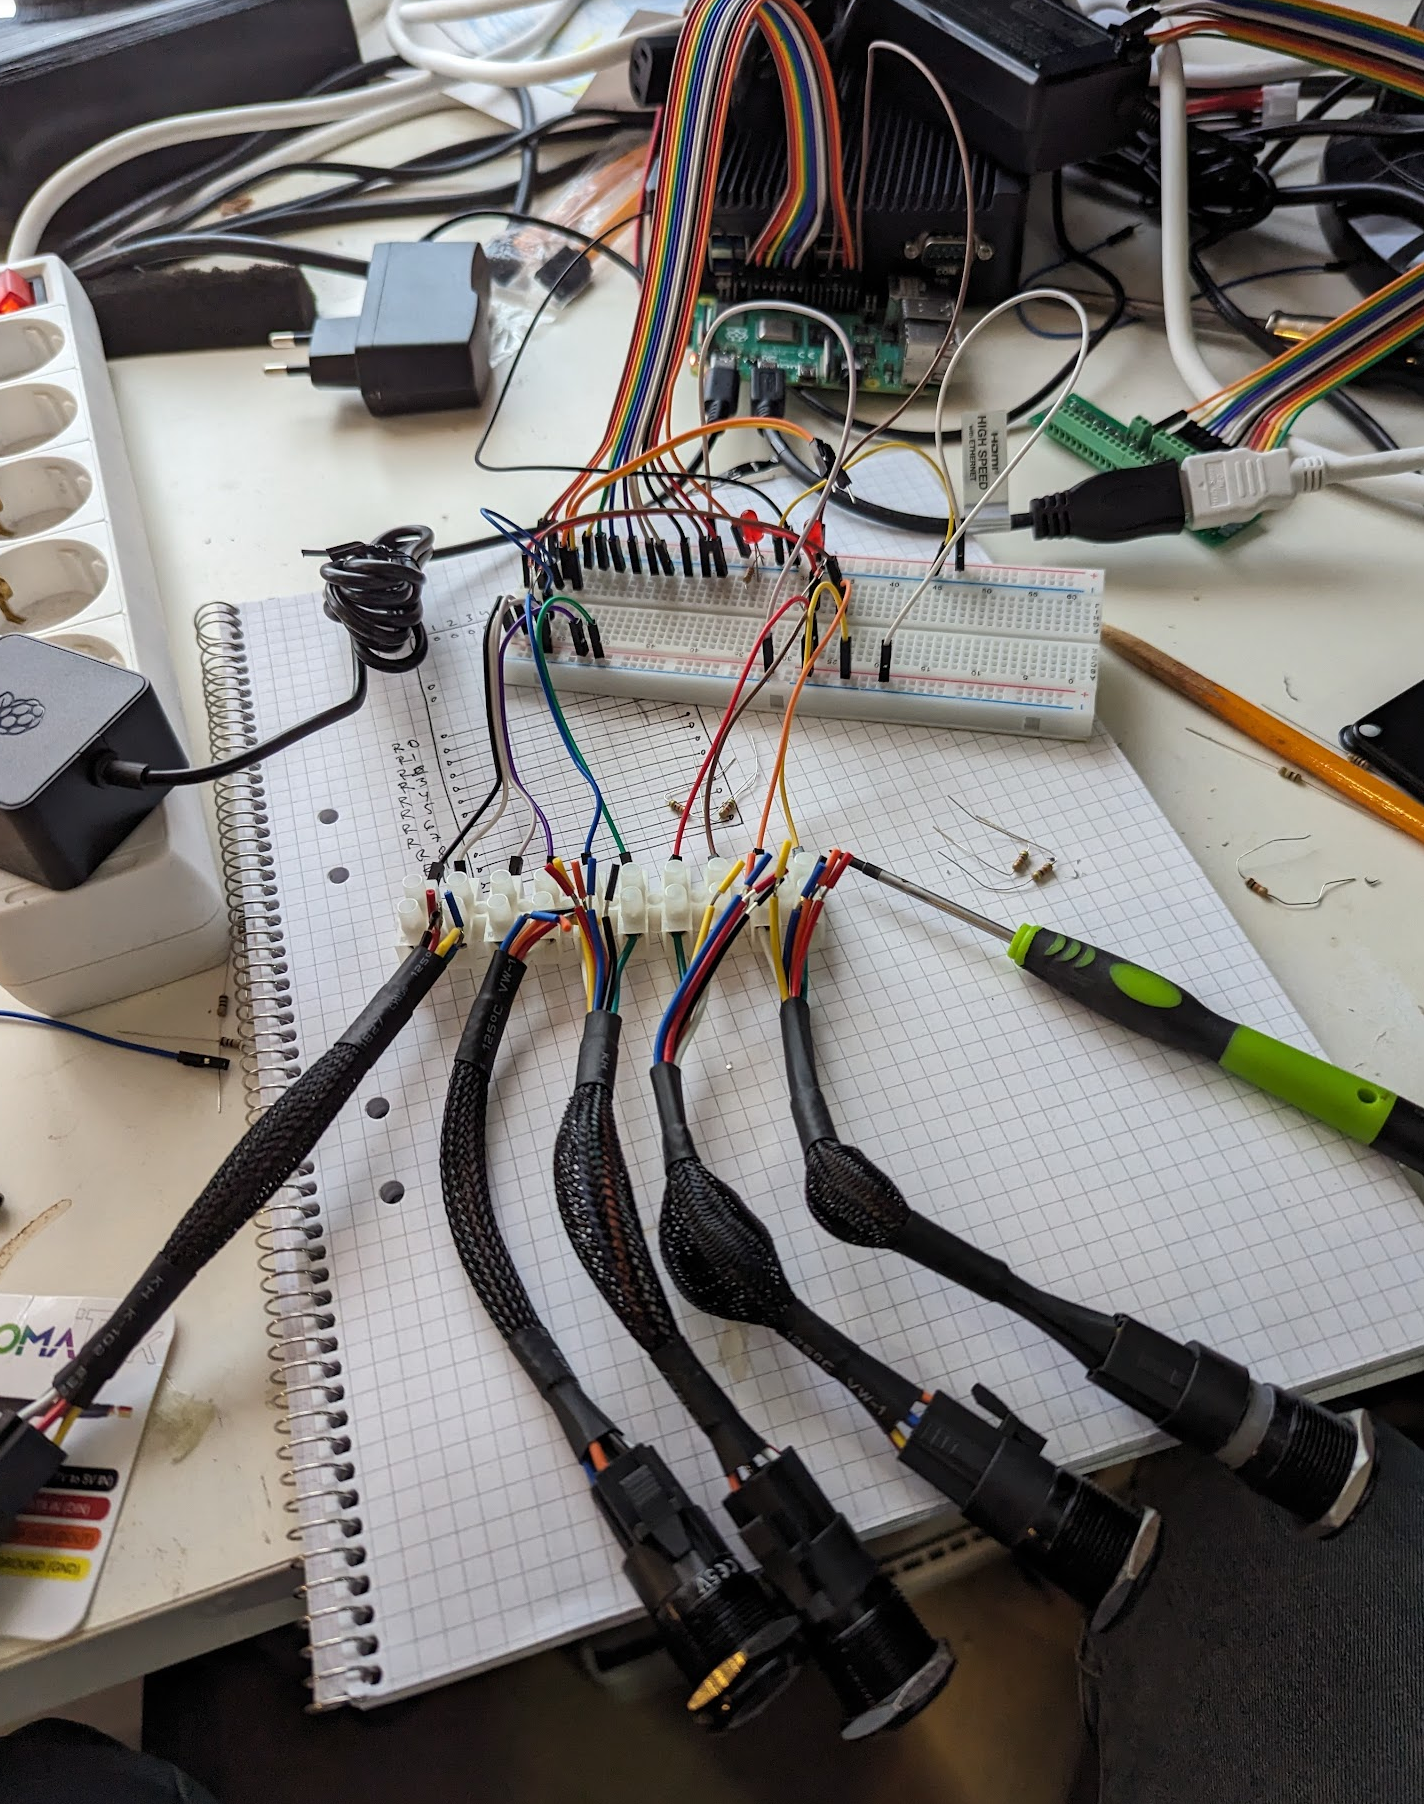
Everything seemed to work, so I took a prototype board and soldered the components on there as well. I also ran some tests all night long to make sure there was no more ghosting. The two red LEDs are quickly blinking because they are connected to the column pins, making it simple to check if everything is functioning as it should.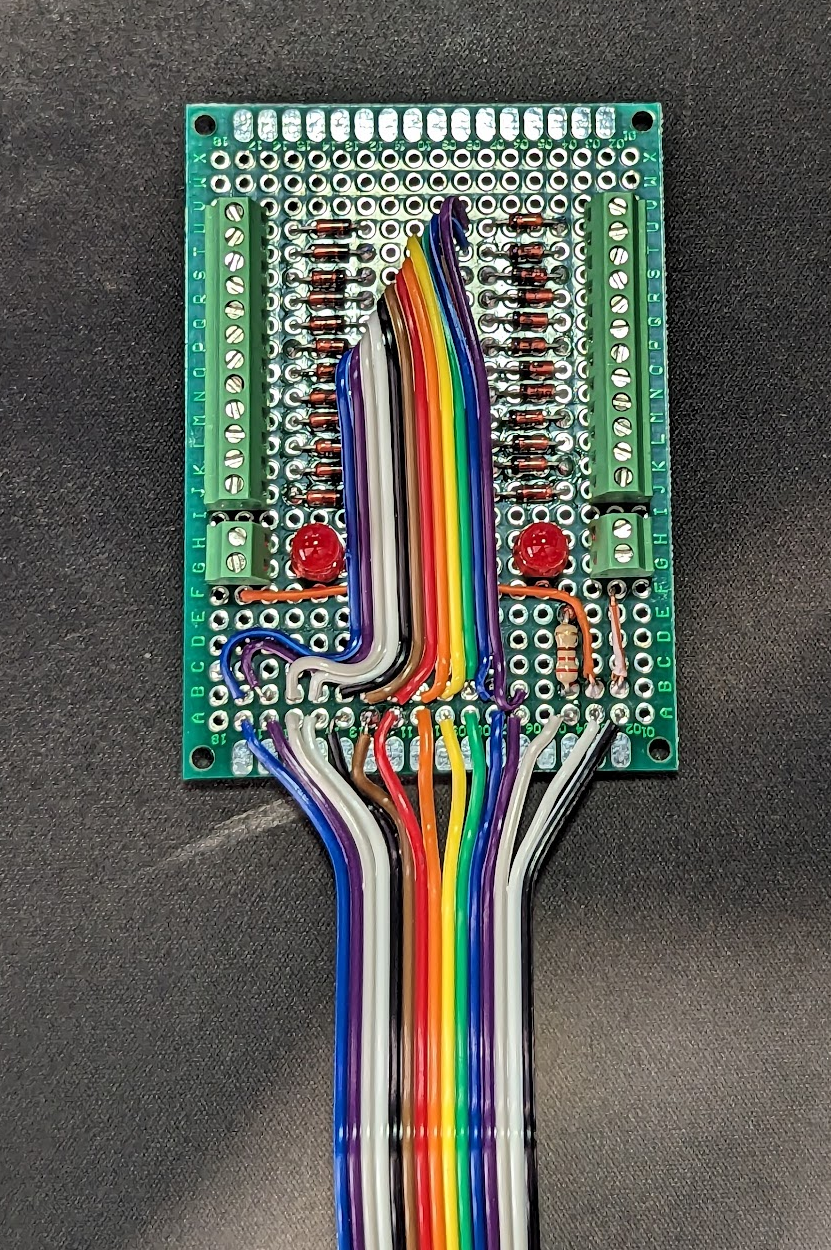
When I was done, I added some hot-glue for good luck and sent it off to my friend. He was tasked with developing the front-end bit of the setup. Using react, math and magic it will show some nice graphics projected onto a nearby wall. 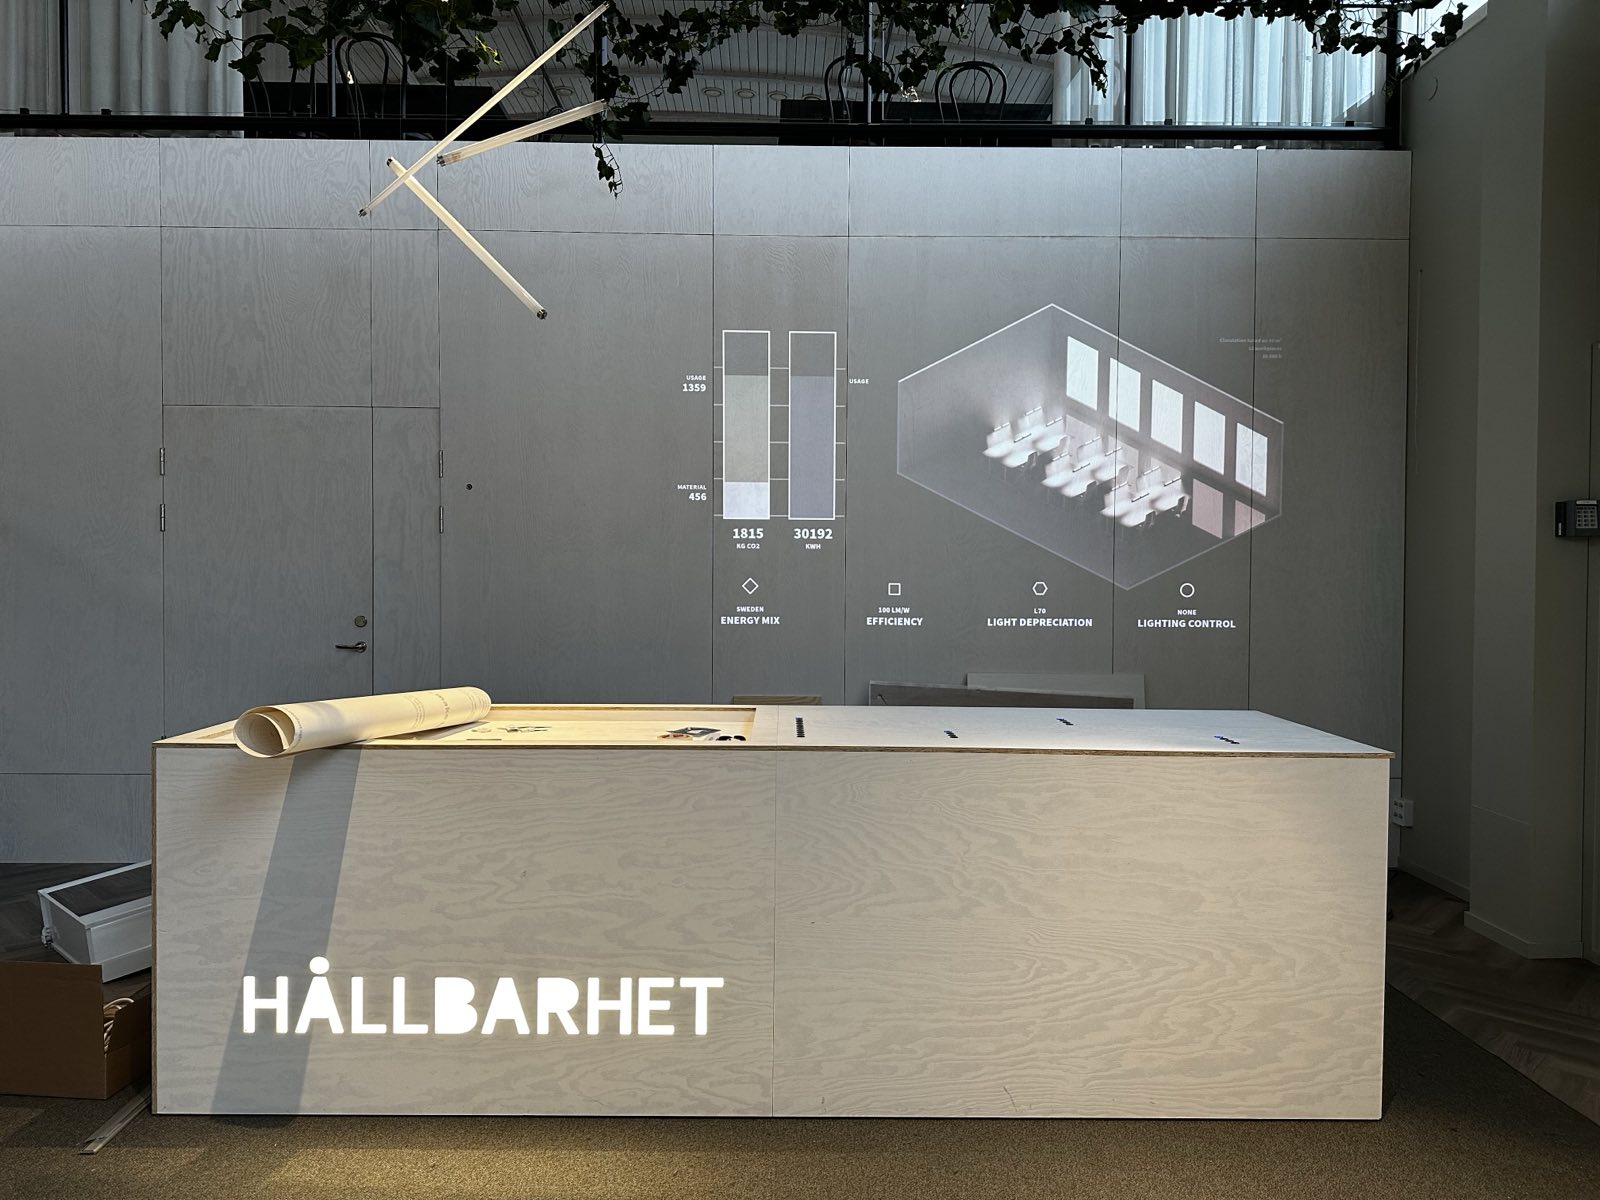
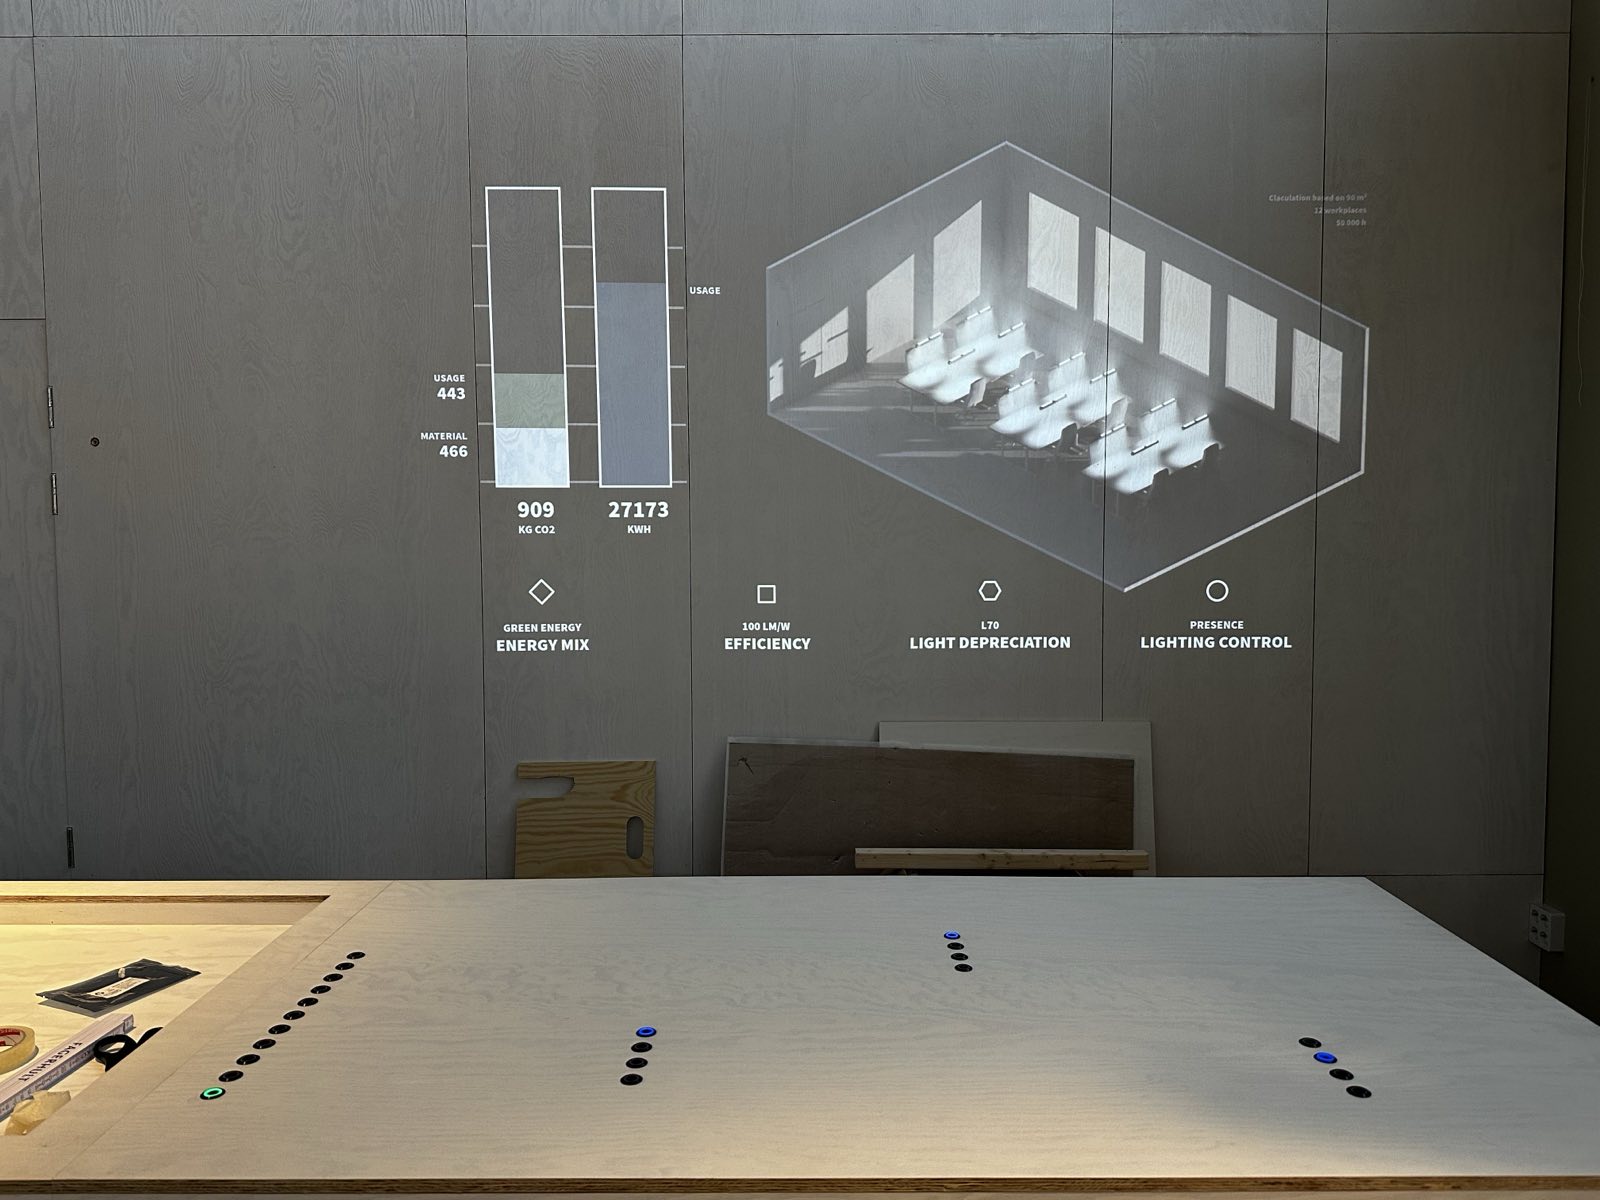
The buttons control different aspects of a lighting setup in a commercial area. What kind of lamps, what kind of energy, if there is presence detection etc. All these settings provide different parameters and are used to calculate energy efficiency calculation and environment impact.
This was a really fun project and I hope I can make more of these.